I have been asked over and over again on how to pull off a new numeric hud text. This tutorial should help those that want to do this or are new to FPSC.
For this tutorial I am using Gimp. I use this because it is free and available for everyone. You can download it
here.
Once you have Gimp downloaded, installed, and opened up Gimp we can begin the tutorial.
Step 1:
You will need to create a new image and scale it to 64 x 64. This will open up a new window with a white background.
 Step 2:
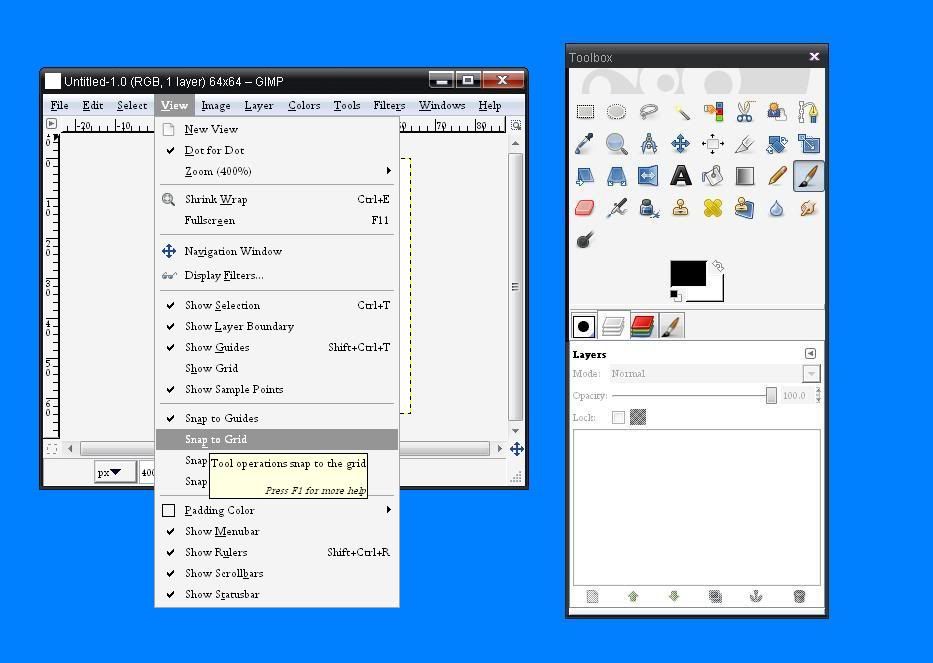
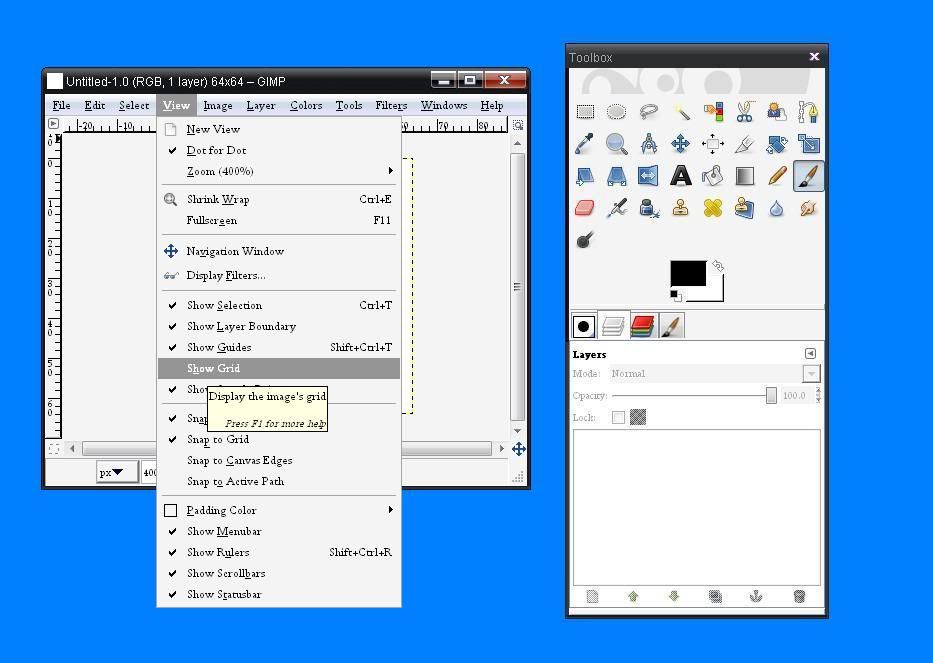
Goto View/Snap to Grid and click on it and it should show a little check mark. Next, in the same tab, click on Show Grid.
 Step 3:
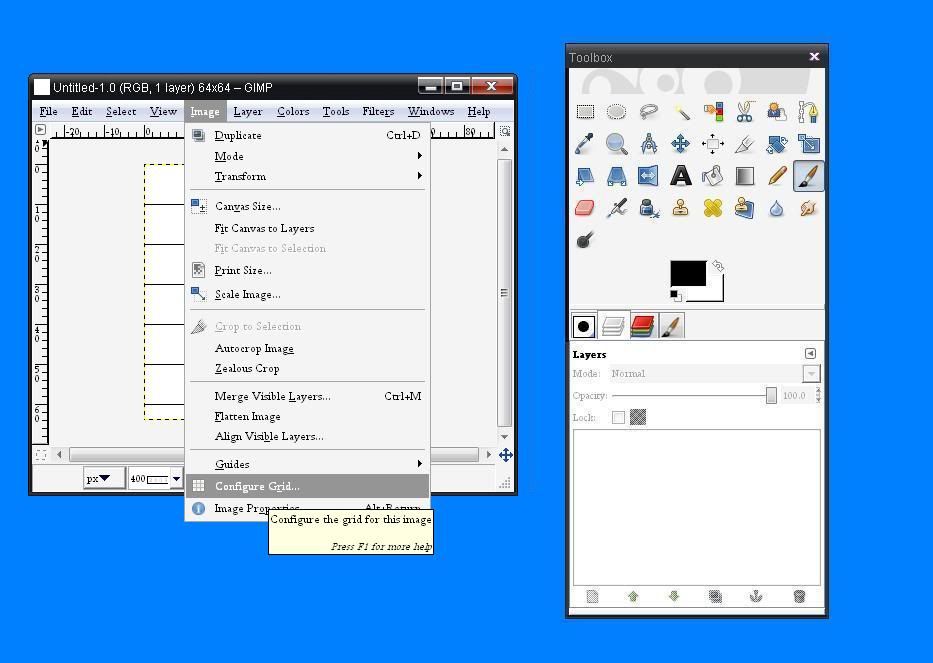
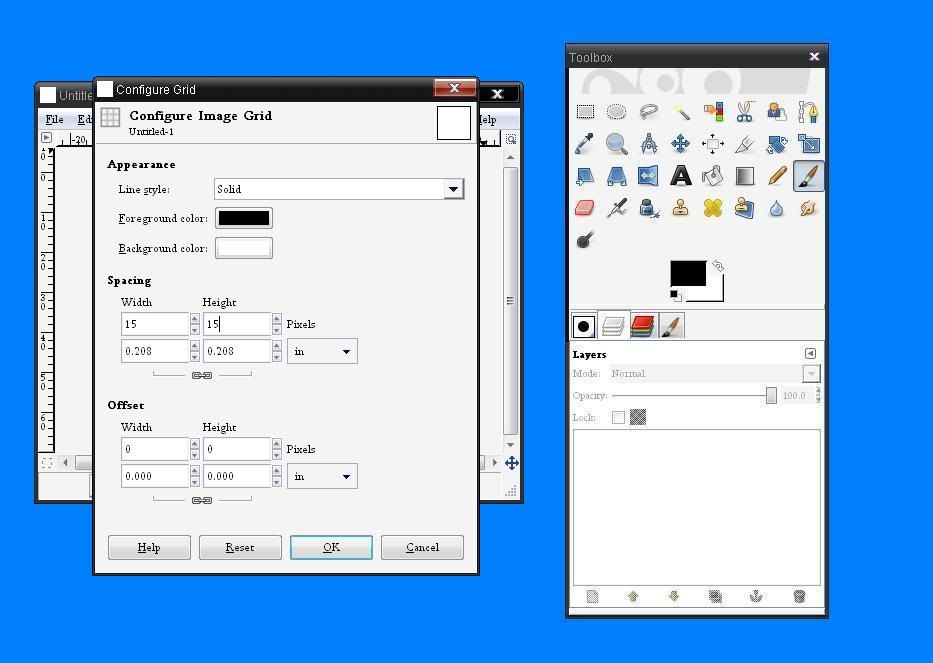
Next we need to configure the grid for it to work properly. Goto Image/Configure Grid. A window will open up and you want to look for " Spacing " . In the width and height boxes put 15 x 15.
 Step 4:
Now, you should have an image with black lined boxes and a white background. If we try to put text on a white background the numbers will look like white boxes in-game unless we add a color to the text or we remove the background. For this tutorial we will use a transparent background.
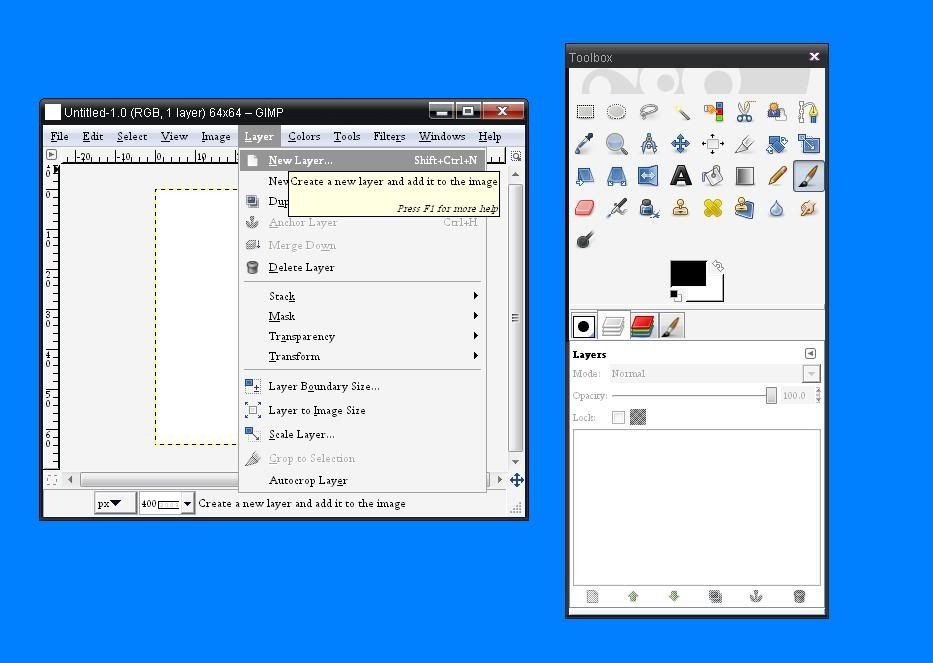
Goto Layer/Add New Layer. Use a transparent layer. Now delete the background.
 Step 5:
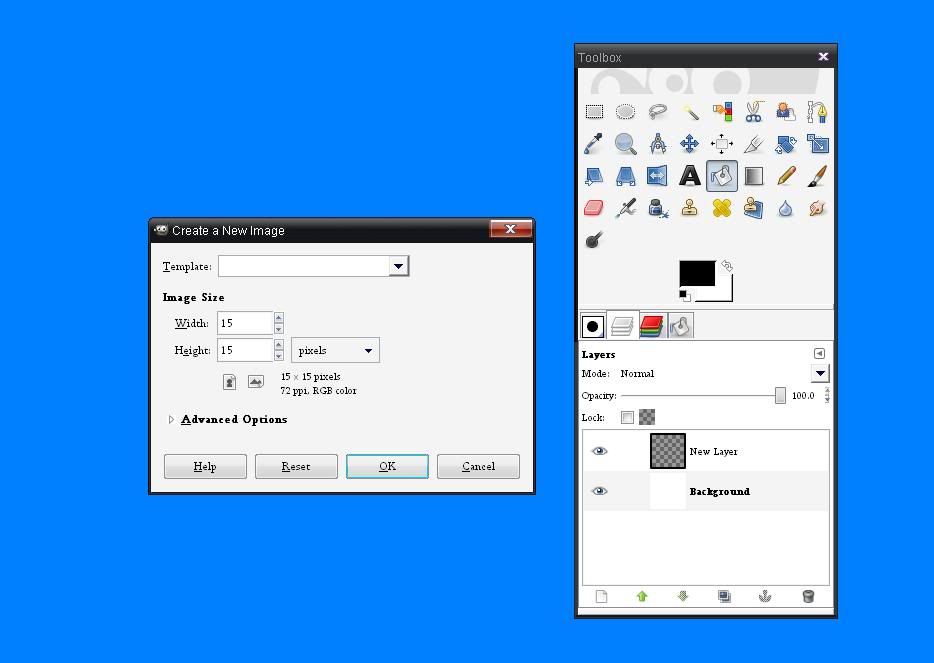
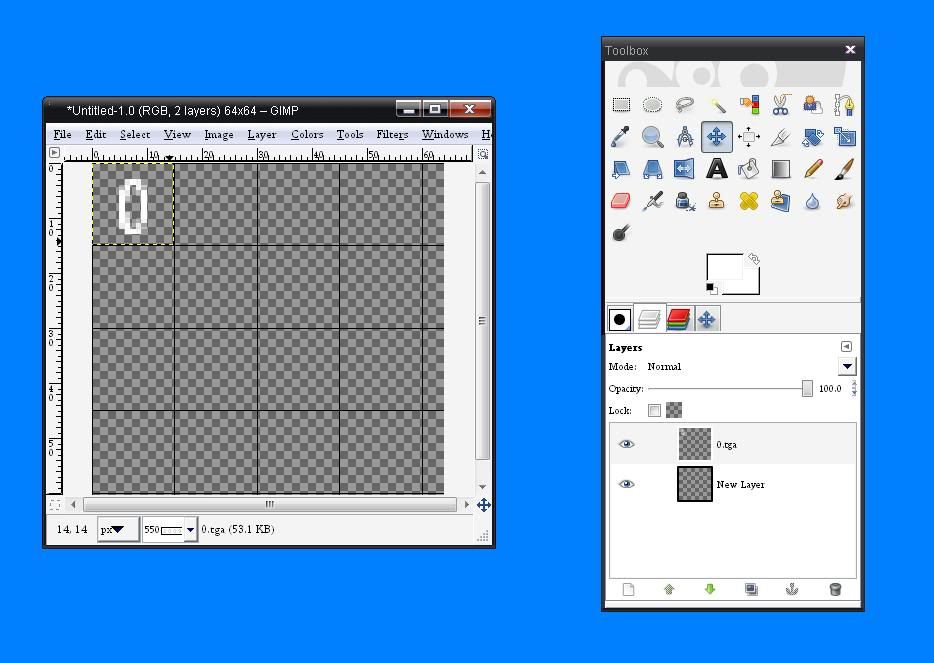
With our base done, we can work on the text. Goto File and create new image. This time it will be scaled at 15 x 15. Select your font and place one number in the center of that 15 x 15 image.
Be sure that this background is also transparent! Now save that image as png or tga. The numbers should be 0,1,2,3,4,5,6,7,8,9,.,/ Once you have each individual image done and saved, then we can start to assemble the finshed image.
 Step 6:
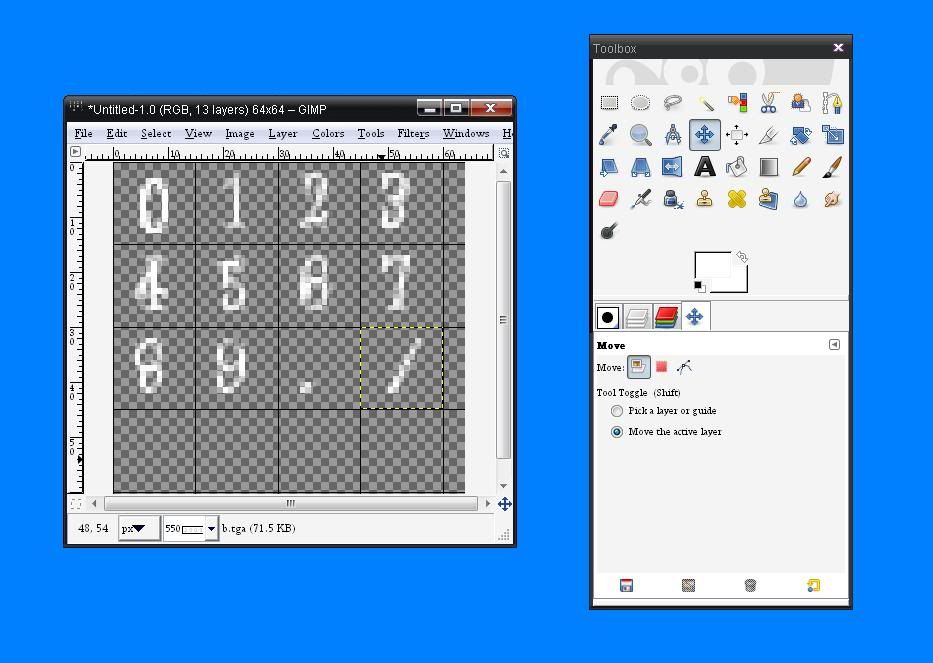
Now switch over to the 64 x 64 base image. Simply drag each 15 x 15 image into the base and arrange the numbers like so.
0123
4567
89./
 Step 7:
To finish merge all images and export as tga, png or dds(dxt5). Now we are ready for testing in FPSC.
Start Fpsc and goto build game/setup level and which ever numeric you want to change. Once the image selection window has copy and paste your new image into this window and press ok.
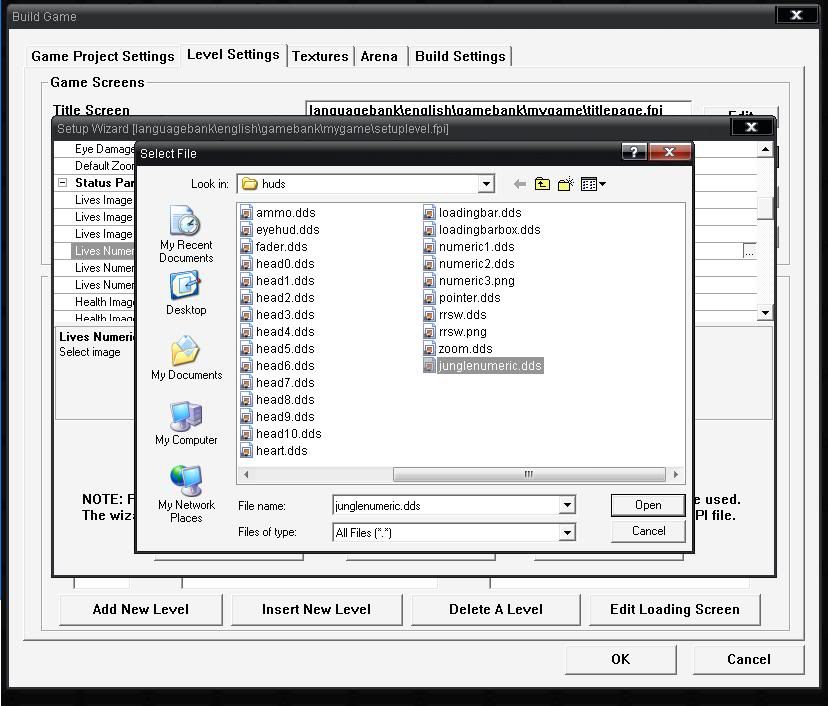
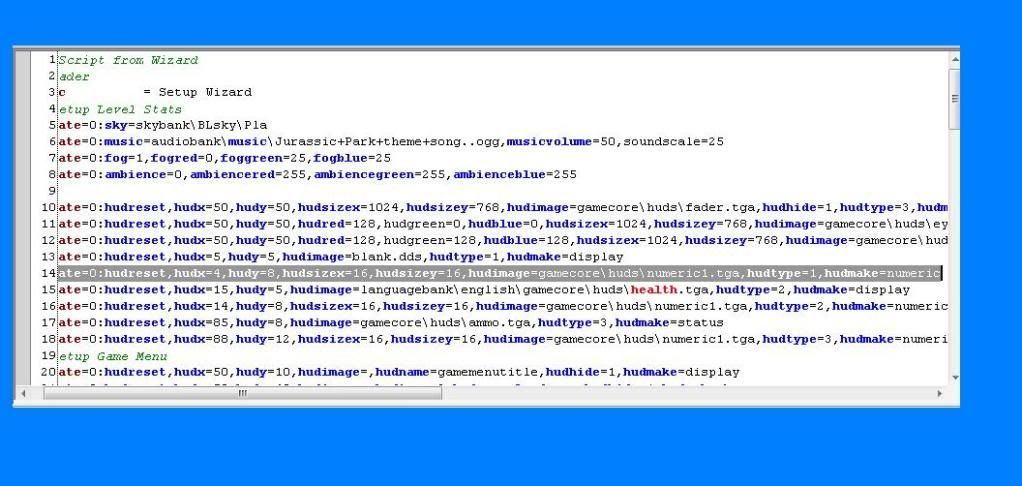
Press preview and see your new work. Should your numerics look to small, you can do this whole process again or you can go to mygame/languagebank/setuplevel.fpi and edit it for your scale. Find your image and edit the hudx and hudy for your scale.
I hope you all find this useful. If some of you older forum member have something to add, please do.
EDIT: I included all the files I used to make this tutorial.
